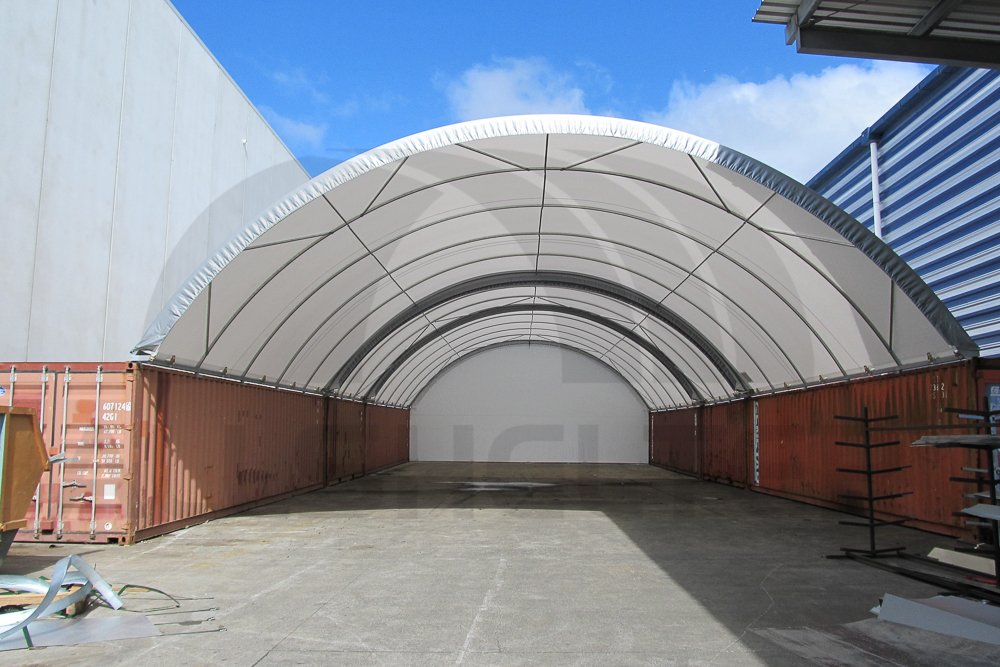
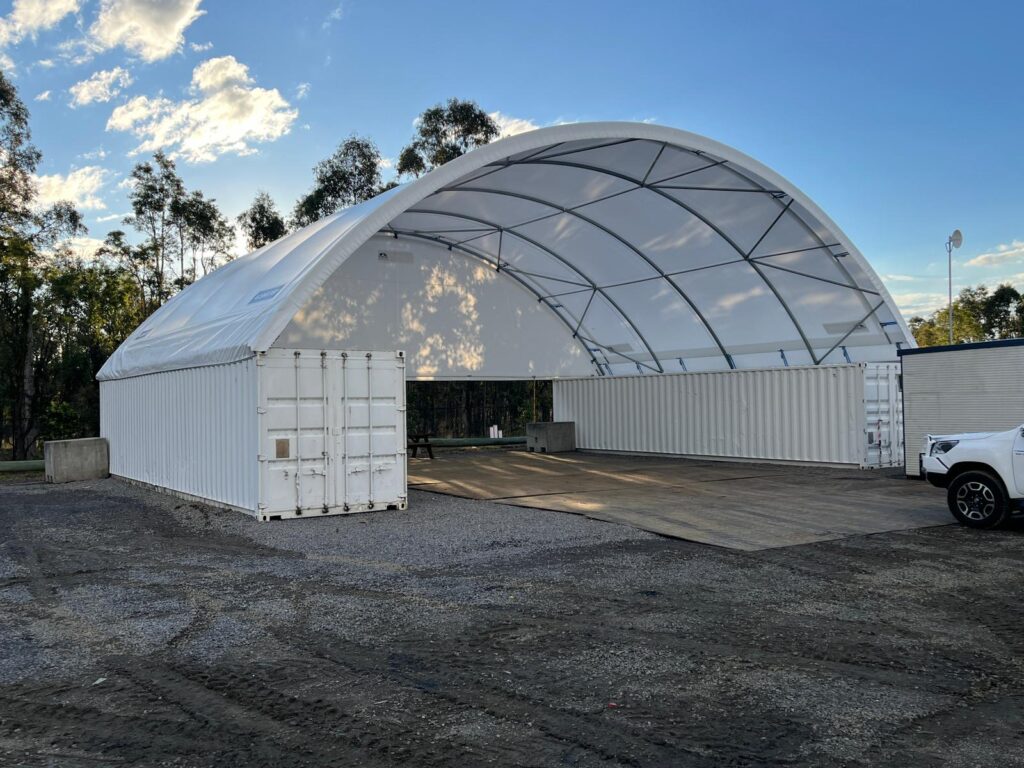
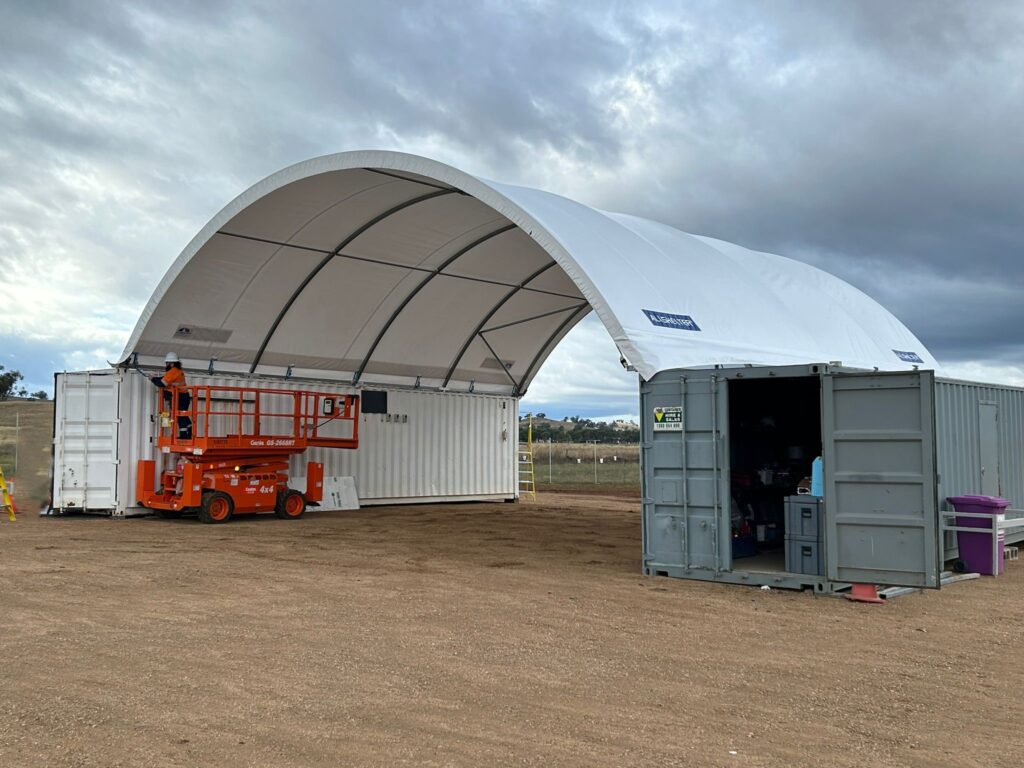
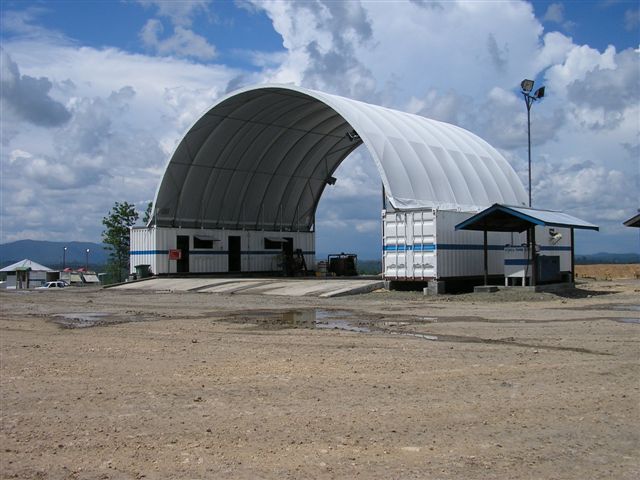
‘Can I join container shelters together?’ Such is a question a customer asked recently, so we figured we should address this in our blog.
The short answer to this question is yes, container shelters can be joined together with what we call a joining strip.
Whilst container domes can be made to length, sometimes there are situations where its beneficial to join container shelters together. It all depends on your project requirements.
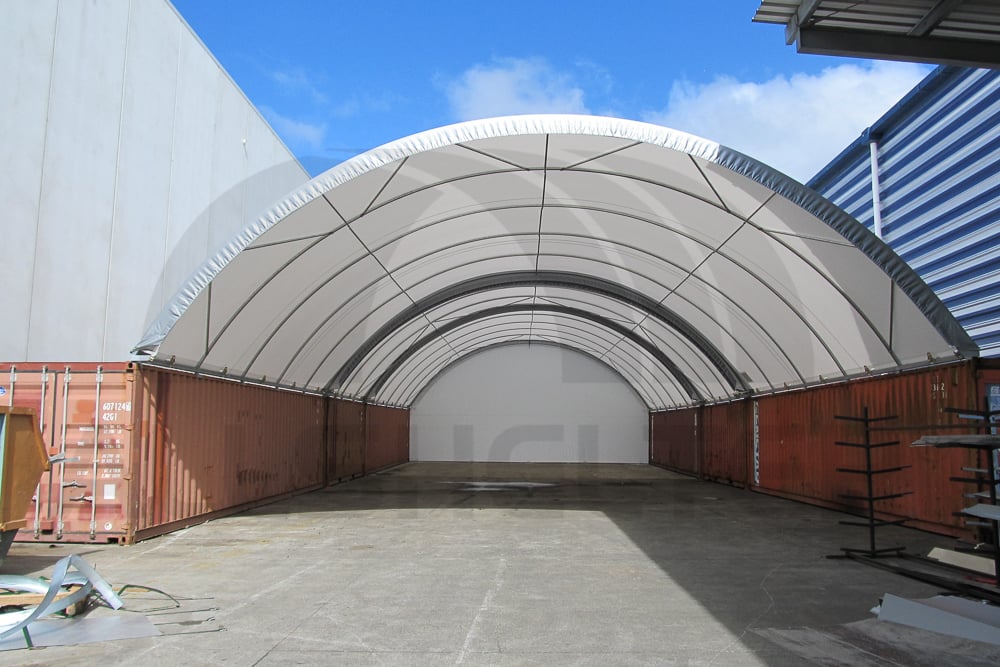
12m wide x 30m long shelter – achieved by joining multiple shelters together.
Common Scenarios for Joining Container Shelters Together
There are three common scenarios where it’s beneficial to join container shelters together:
- You already own a container shelter and need to extend the covered space
If you already have a container mounted shelter on site and would like to extend the space, you can purchase another shelter and join it to the existing one. You’ll just need to make sure the shelter is the same width and height as you’re existing shelter. Configure your shipping containers as needed, install your second shelter and secure the two domes together using a joining strip (see instructions below for how these work). - You purchase multiple shelters and join them for extra length
Purchasing a standard or common sized shelter is often the best way to go as companies who sell fabric shelters will often have a standard range; or a range of common sized container shelters. The pricing and lead-time on these shelters is generally more reasonable than a fully customised shelter.
So where the width and height suits, you can configure as many container shelters (of the same profile) as needed to achieve the desired length. Secure the domes together using joining strips. - You purchase multiple shelters for extra length AND; you plan to dismantle & re-use the shelters
So we’ve already covered off how you can achieve the right length shelter by installing two or more shelters together. However, if your project is temporary, joining strips give you the ability to turn your structure back into multiple smaller structures for relocating and reusing on a new project.
How to Join Container Shelters Together
If you’re installing a joining strip, you’ll be supplied with instructions and the necessary equipment (minimal) to install. Here are the basic steps for joining strip container shelter installation:
Step 1: Pull the joining strip over the shelter and into place using ropes (note that the shelters should be no more than 100mm apart if possible).
Step 2: Attach the ratchet anchor components to the container.
Step 3: Using supplied material, attach the joining strip to the ratchet anchors and then tension the ratchets evenly.
Step 4: Fasten down each end of the joining strip using supplied rope track, and fasten.
Once finished, the joint will be waterproof.
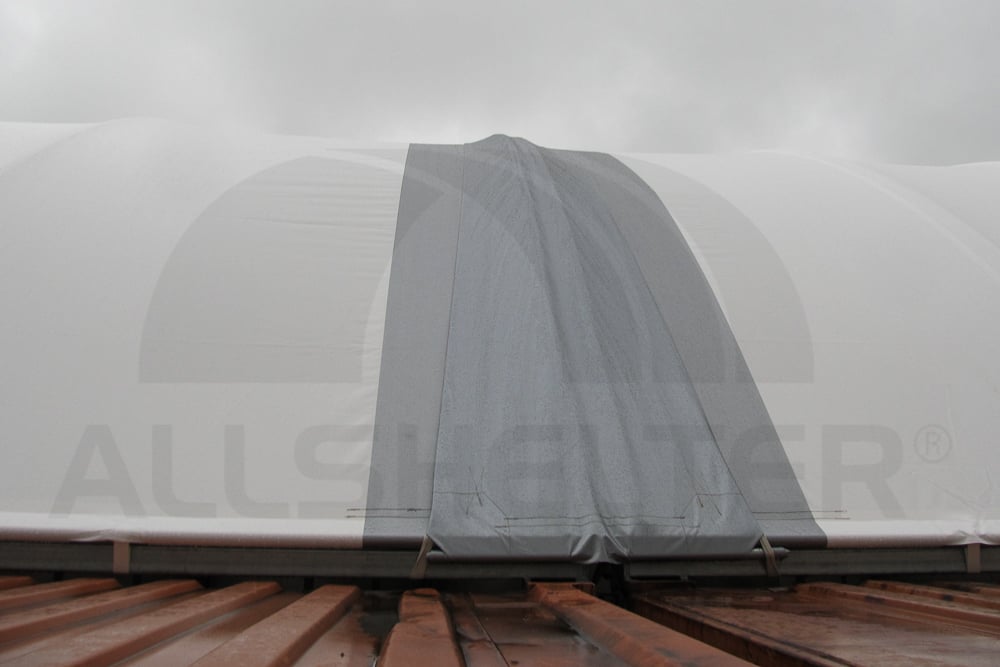 Joining Strip – Outside View
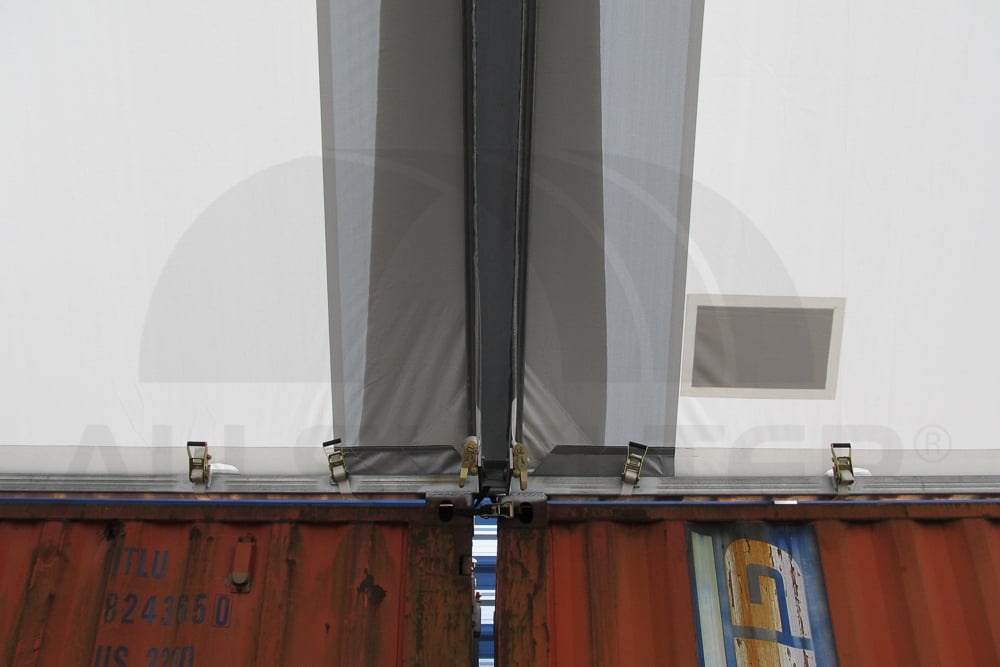 Joining Strip – Inside View
The Advantage of Joining Container Shelters Together
By now you’ve probably worked out these joining strips give you the flexibility of turning your shelters into modular systems.
The below example (based on the scenarios listed above) gives you an idea of just how adaptive these container shelters are.
- Purchase one 12m x 12m container shelter. Note, this size shelter mounts to a standard 40ft shipping container.
- Purchase a second 12m x 12m container shelter and connect your shelters together using a joining strip. You’ll then have a structure measuring 12m wide x 24m long.
- Once your project is finished, dismantle your 12m wide x 24m long structure. This will leave you with two 12m x 12m container shelters for use on another project!
So if anything, by far the biggest advantage is the abilty to increase or decrease your storage space as your project progresses!
